I’ve been in my house for over 6 years and have not hung a single window treatment, and I even got the curtains I wanted from Target for my birthday from my sister…I just need to hang them!
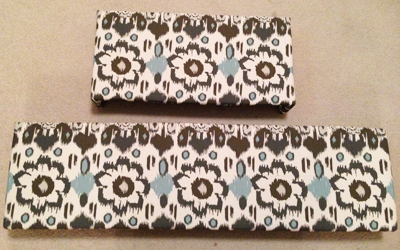
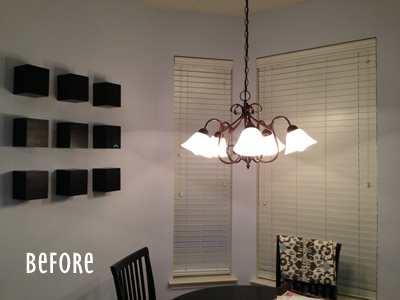 Just before Thanksgiving I ventured to this new fabric store I’ve been wanting to try and picked up some fabric for some projects around the house. When I saw this fabric, I knew it was perfect for my breakfast nook that needed some sprucing up!
Since I just got the puppy, I’m hesitant to make any window treatments that are floor length. She loves to chew on anything and everything so I don’t want to give her any more options.
I found my inspiration for this project here.
As I said, I already had the fabric. I bought two yards which would have been excessive for this project, except that I needed to line up the pattern and actually ended up using most of it because of where I had to cut it in order to do that.
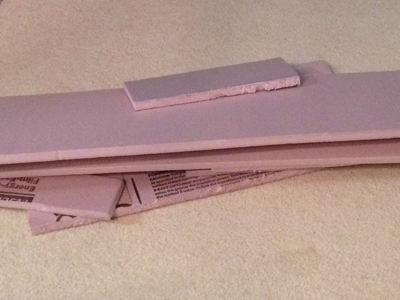
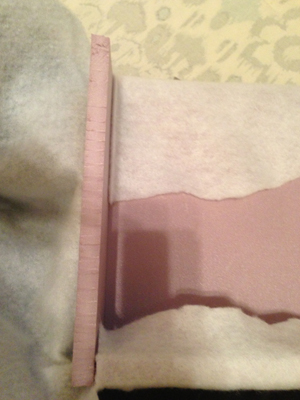
I don’t know why but Home Depot makes me nervous. But I braved it for the foam insulation board. Little Tip: The foam insulation board is in the back by the sheets of wood. It comes in a GIANT sheet….I’m so glad no one was really around to see me try and fit the whole board in my car; pretty sure it took me about 20 minutes. The insulation comes in 1/2 or 1 inch thickness, I got the 1/2 inch and it ran about $10.
Then I got batting, the only package of it I saw at the Michaels by me was for a queen size beed, so I’ve got quite a bit left over after this project. You’ll also need an X-acto knife, glue gun and I recommend the red double sided tape (it’s only red because of the backing).
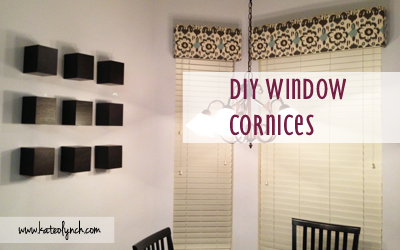
DIY Window Cornices
Step One: Measure your windows. I didn’t have any hardware to cover, but you could hang shears and use this cornice to cover the curtain rod. Since I didn’t have much room I only made my cornices 1″ wider then the windows instead of the recommended 3 inches.
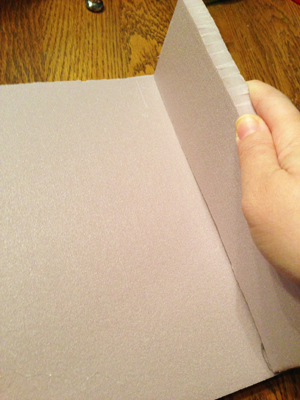
Step Two: I cut the pieces to be 10 inches tall by the width I needed for my window. Then I cut 2 10 inch tall by 3″ wide pieces for each window. Lastly I cut 2 3 inch piece by the width of the window. This last pieces will most likely need some trimming but that’s easy to do once it’s already cut.
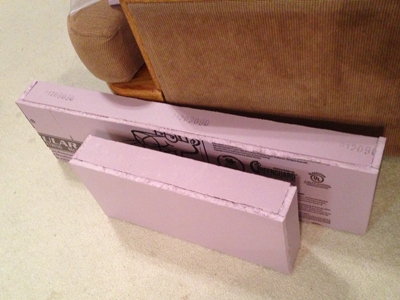
Step Three: Assemble the cornice boxes. You’ll need to bust out your hot glue gun for this step. I started by hot gluing the side panels on one at a time so I could hold them in place for a few minutes. Then I added the top piece after making the necessary trimming to make it fit. I assembled the two boxes I was making, one at a time.
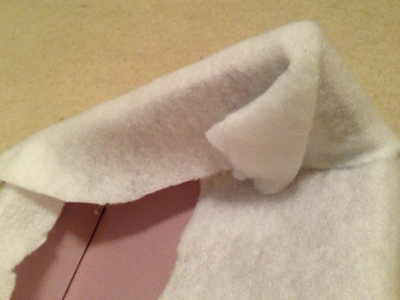
Step Four: Now it is time to cut the batting. I unrolled my batting and set the cornice boxes on it one at a time to cut out the pieces. Once I had the pieces cut, I began wrapping the cornices in batting, using the double sided tape to adhere it. You could probably use spray adhesive, I just think that stuff is such a mess that I try to avoid it. I wrapped each one as much like a present as I could but without letting the corners get too bulky.
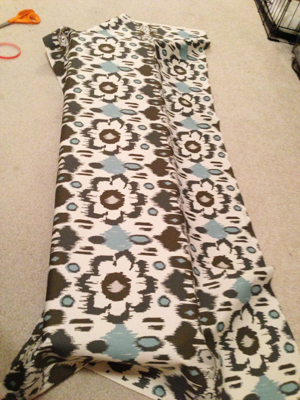
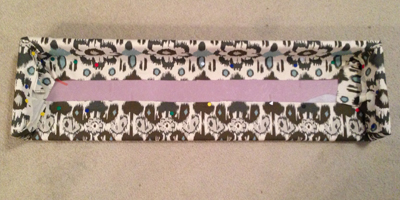
Step Five: Now, the fun part! It’s time to add the fabric. I laid the fabric over the largest cornice box first to figure which part of the fabric I wanted to show then I cut it with enough extra to be able to wrap the cornice box completely. Once I wrapped the big one I then wrapped the second one. Again I wrapped them like a present pulling the fabric as tight and flat as possible. Again I used the double sided tape to hold the fabric in place. I tried using thumbtacks but they just fell out so that didn’t work. The back won’t turn out very pretty, but luckily since they are only 3 inches deep no one will really have the chance to see that. So keep that in mind if you need to make them deeper to cover hardware that you may need to be more careful with the back side.
Even Bailey wanted to help me with this project….and boy was she a lot of help!

Step Six: Hang them up. These cornices are so light that they don’t require L brackets but I bought them following the article’s instructions that inspired me. I ended up hanging mine with push pins and they haven’t fallen.
Hopefully I’ve explained this so you can easily follow along and make your own DIY Window Cornices. Let me know if you have any questions!

[…] I said I have three windows I was needing (and wanting) to make window treatments for and follow in my sister’s DIY steps from her blog. I have one not very wide bathroom window that I had forgotten to get fabric for, one kind of […]